Exercise - Permeability of randomly packed disks
Background
The permeability of natural rocks is a complex function of pore geometry, grain size, and arrangement. As we have learned in the previous exercise, this pore geometry can be inferred from cT-scanned images of rock samples and many examples can be found in the literature and the digital porous media portal.
In this exercise, we will explore the permeability of a synthetic rock sample consisting of randomly packed disks. The goal is to understand how the permeability changes with porosity and how flow self-organizes into dominant preferential flow paths.
How densely disks and spheres can be packed is a classic problem in physics and mathematics. The densest packing of equal disks in 2D is the hexagonal arrangement, which fills about 91 % of the plane. Lagrange showed in 1773 that it is the densest lattice packing; that no other arrangement is denser was proven only in the 20th century. For equal spheres in 3D, the densest packing fills about 74 % of the space, e.g. in a face-centered cubic arrangement. This was conjectured by Kepler in 1611 and proven by Thomas Hales only in 1998. Random packings are much less dense, and natural rocks often have lower packing densities due to irregularities in grain shapes and arrangements.
We want to explore cases where the disks are randomly packed but do not touch each other, to ensure that we have connected pore space and a well-defined mesh. As a consequence, the minimum porosity will be much higher than for the densest packing, and we will only be able to study porosities of approximately 60 % and higher.
Random disk packing
We will again use porespy to generate a random packing of disks. Here is a simple script that generates a random packing of disks with a specified porosity:
import porespy as ps
import matplotlib.pyplot as plt
import numpy as np
from PIL import Image
import os

# 1. create a random sphere model using porespy

# show working directory
print(f"Current working directory: {os.getcwd()}")

shape           = [1256, 1256]      # size of the image in pixels
volume_fraction = 1                 # approximately 1-porosity depending on radius and the boundary conditions
edges           = 'extended'        # 'extended' means that the spheres can extend beyond the image boundaries
clearance       = 10                # minimum distance between spheres in pixels
r               = 25                # radius of the spheres in same units as the image
seed            = 1                 # random seed: the same seed always gives the same packing


# 2. generate the spheres and show / ~ to stay with earlier convention that black is solid
im = ~ps.generators.random_spheres(shape=shape, r=r, clearance=clearance, phi=volume_fraction, edges=edges, seed=seed)
fig, ax = plt.subplots(1, 1, figsize=[4, 4])
ax.axis(False) # turn off decoration
ax.imshow(im, origin='lower', interpolation='none', cmap='gray');
# sum pixel>1/total pixels
print(f"Porosity: {np.sum(im > 0) / np.prod(shape):.3f}")

# 3. save as vti (VTK's image format)
arr         = np.asarray(im, dtype=int)*255  # convert to int and scale to 0-255 for VTK
arr_stacked = np.stack((arr,arr), axis=2)
print('Saving as vti...')
ps.io.to_vtk(arr_stacked, 'porous_model_spheres')
print('Saving as png...')
im_pil = Image.fromarray(arr.astype(np.uint8))  # convert to PIL image
im_pil.save('porous_model_spheres.png')
The above script can be used as a starting point to generate images of randomly packed disks (Fig. 17). The seed makes the packing reproducible: the same seed always gives the same packing, and a different seed gives a new random packing.
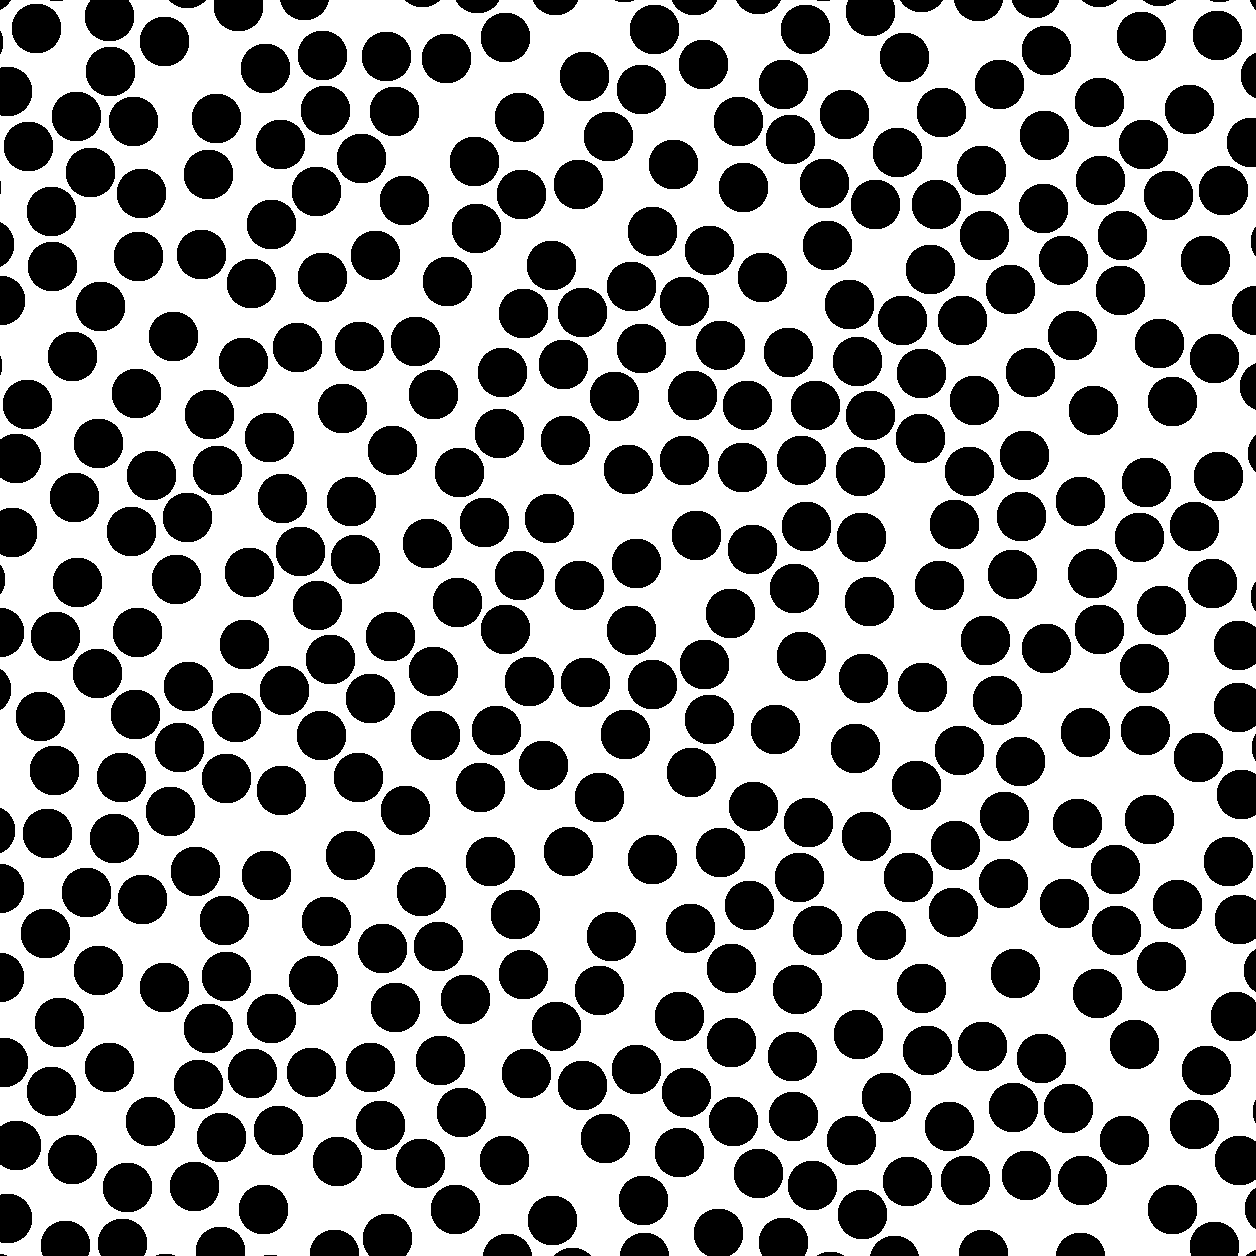
Fig. 17 Example output of random sphere packing with porespy.
Exercise
Play with the model parameters to generate different porosities and packing densities.
What happens if you increase the radius of the disks?
What happens if you increase the clearance?
What happens if you decrease the volume fraction?
What happens if you change the seed?
What is the minimum porosity you can achieve with this method?
Generate model input
You can download an example case from here. It contains two notebooks and a ParaView script:
geometry/make_porous_model.ipynbmakes the disk packing with the script above and saves it as.vtiand.png. Its last cell prints a point forlocationInMesh(see below).geometry/make_stl_in_paraview.pyturns the.vtifile into the.stlsurface of the disks, as in the previous exercise. Run it withpvpythonon your computer from thegeometryfolder, or in the Python shell of ParaView.python/compute_permeability.ipynbcomputes porosity and permeability from the result.
The workflow is the same as in the previous exercise:
Run
geometry/make_porous_model.ipynbin the container (e.g. in JupyterLab).Run
geometry/make_stl_in_paraview.pyon your computer to createconstant/triSurface/porous_model_spheres.stl.Copy the
locationInMeshline printed by the notebook intosystem/snappyHexMeshDict.Run
./run.shin the case folder. It makes the mesh withblockMeshandsnappyHexMesh, scales it by a factor of 1e-6, and runssimpleFoam.Run
postProcess -func writeCellVolumes -latestTimeandfoamToVTK -useTimeName -latestTime -poly, and thenpython/compute_permeability.ipynb.
Important
Set locationInMesh for every new packing. snappyHexMesh keeps only the part of the mesh that is connected to this point. If the point lies inside a disk or in a small, closed pore, the mesh contains only a few cells, and simpleFoam stops with an error like “Unable to set reference cell for field p”. The point printed by the notebook lies in the middle of the largest pore. The example case is set up for the packing with seed = 1.
Tip
Mesh resolution and run time. The background mesh in system/blockMeshDict has 314 × 314 cells, i.e. one cell for every 4 × 4 pixels of the image. The mesh has about 60,000 cells, and a run takes less than a minute. With one cell per pixel (1256 × 1256 cells), the mesh has about one million cells and a run takes about 20 minutes, and the permeability comes out about 20 % higher. The coarse mesh is good enough to compare different packings with each other, which is what this exercise is about. Keep the mesh resolution the same for all packings you want to compare.
Exercise
Use the porespy package to make different disk packings and porosities.
Explore how porosity and permeability are related.
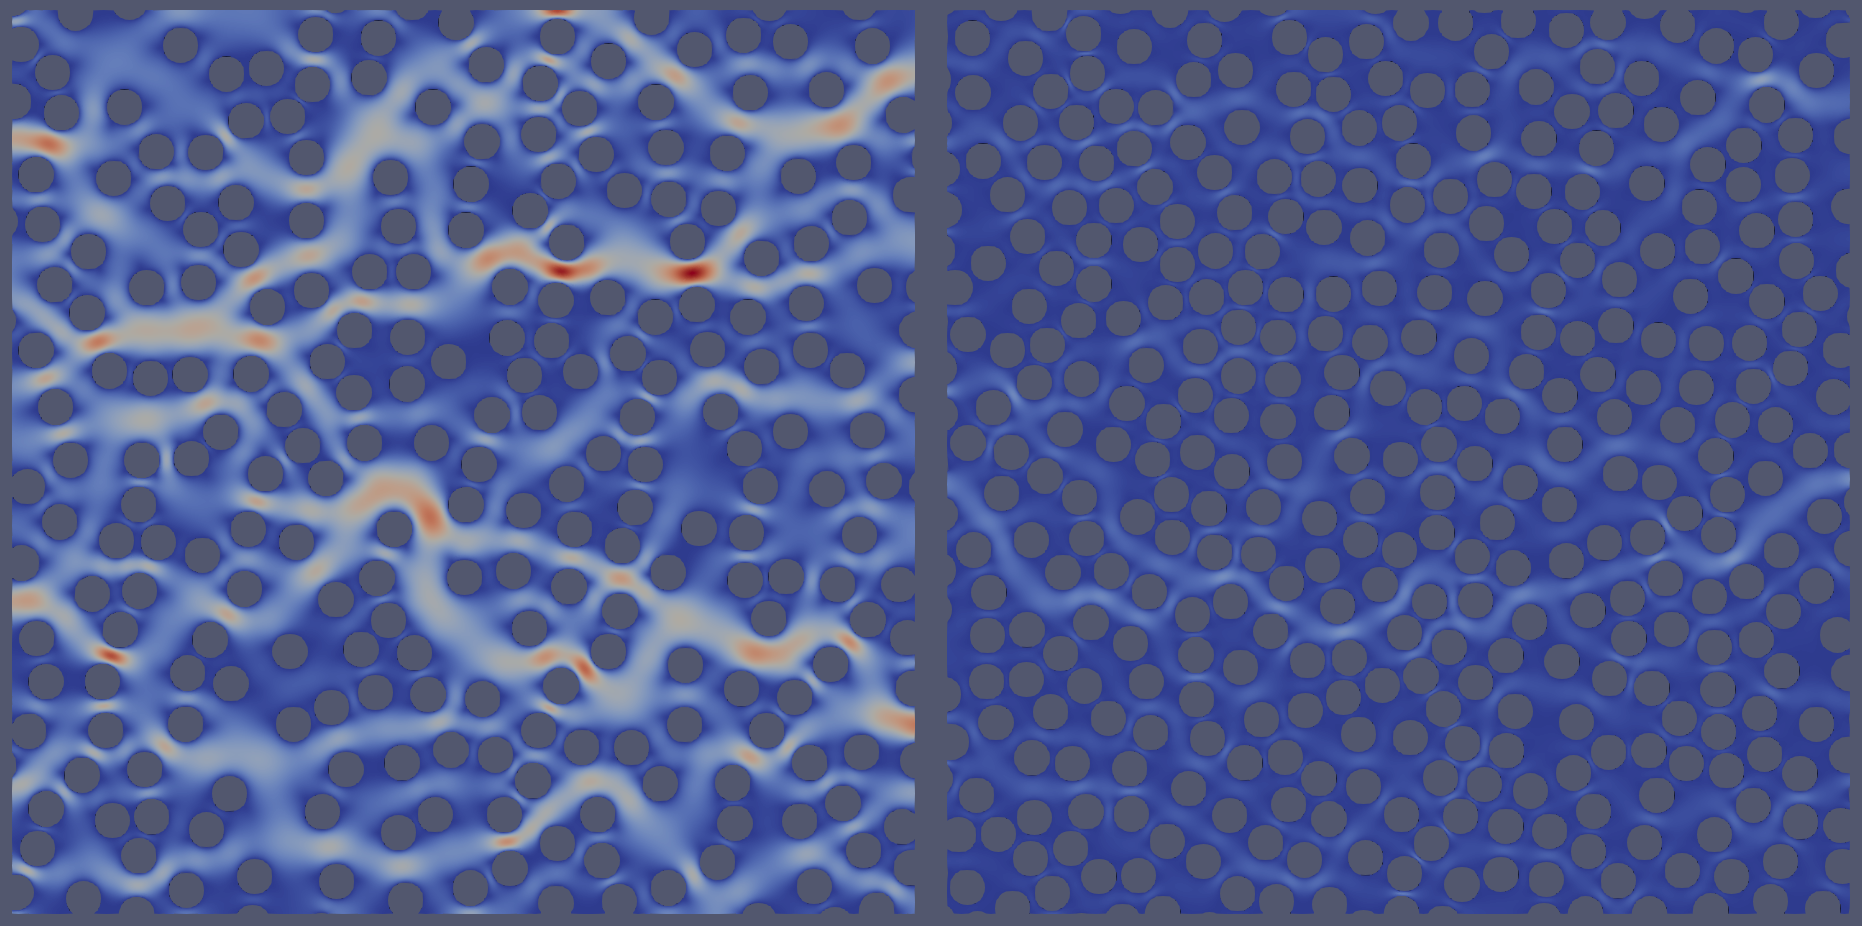
Fig. 18 Example calculations for different disk packings. Notice how flow organizes into dominant flow paths.