Installation guide
We will be using the Foundation version of OpenFOAM and our own hydrothermal flow solver HydrothermalFoam , which is based on OpenFoam. Detailed installation instructions can be found on the webpages of HydrothermalFoam. During this class we will rely on a virtualized environment and use a pre-configured docker container.
Docker
We will rely on docker and use a virtual Ubuntu Linux installation that has OpenFoam and HydrothermalFoam installed. The image is based on a clean Ubuntu 22.04 LTS and OpenFoam 10 build from source. HydrothermalFoam is our hydrothermal flow solver and xthermo our implementation of the [Driesner & Heinrich, 2007] equation-of-state for the system H2O-NaCl. Docker images are lightweight, standalone, and immutable templates for creating containers, while containers are runtime instances of these images that include the application and its dependencies. These are the necessary steps:
Install docker desktop and keep it running.
Register an account with docker hub, a marketplace for docker images.
Log-into your newly created account from your docker desktop application.
Tip
Steps 2 and 3 are optional and you should be able to download the docker image also without a docker hub account.
Now we are ready to pull the provided docker image, which can be found here lruepke/hydrothermalfoam-openfoam10:latest.
Open a shell (powershell under windows or a terminal under MacOS) and pull the image by typing this command.
docker pull lruepke/hydrothermalfoam-openfoam10:latest
The image is about 4GB, so this can take a while. The “:latest” tag points to a multiplatform image and you should get the right image regardless whether you are on an Intel/AMD or ARM/M-chip machine. After the download is finished, you can build the docker container. As we will share a folder between your host machine and the docker container, we first create a folder in your home directory. You can call it whatever you want, but we will use HydrothermalFoam_runs in this example.
mkdir $HOME/HydrothermalFoam_runs
# on Windows use
mkdir %HOMEPATH%\HydrothermalFoam_runs
Now we can build the docker container.
Use this command:
docker run -it -d --name hydrothermalfoam10 -v="$HOME/HydrothermalFoam_runs":"/home/openfoam/HydrothermalFoam_runs" lruepke/hydrothermalfoam-openfoam10:latest
This complicated looking command builds the docker container and creates a “shared” folder called HydrothermalFoam_runs in your home directory (this is what the -v option does). If you want it somewhere else, you can change this “$HOME/HydrothermalFoam_runs” part of the above statement. Please do not uses path and directory names with spaces or special characters in it (if you are on windows).
Tip
- Just in case you do not like to type statement that you don’t fully understand – this is what the other options do:
-it allocate a pseudo-TTY connected to the container’s stdin; creating an interactive bash shell in the container (plain language, this allows you to interact with (type inside) the container)
– name hydrothermalfoam give the container its name
-v makes a shared file system
-d starts the container in detached mode (in the background)
lruepke/hydrothermalfoam-openfoam9:latest is the name of the image we just downloaded
Now that you have built the docker container you can use these basic docker commands to interact with it:
docker start hydrothermalfoam10
docker attach hydrothermalfoam10
docker stop hydrothermalfoam10
The first command starts the container and the second one attaches it to the current shell. As you will see below, you will typically run these two commands from the right-hand side shell in your VS code when you start your work. To stop the container, just run the stop command from another shell.
While we recommend to use the command line to interact with docker, there is als a GUI that you can use to check on your docker containers and images. Just right-click on the icon in the task bar and chose dashboard.
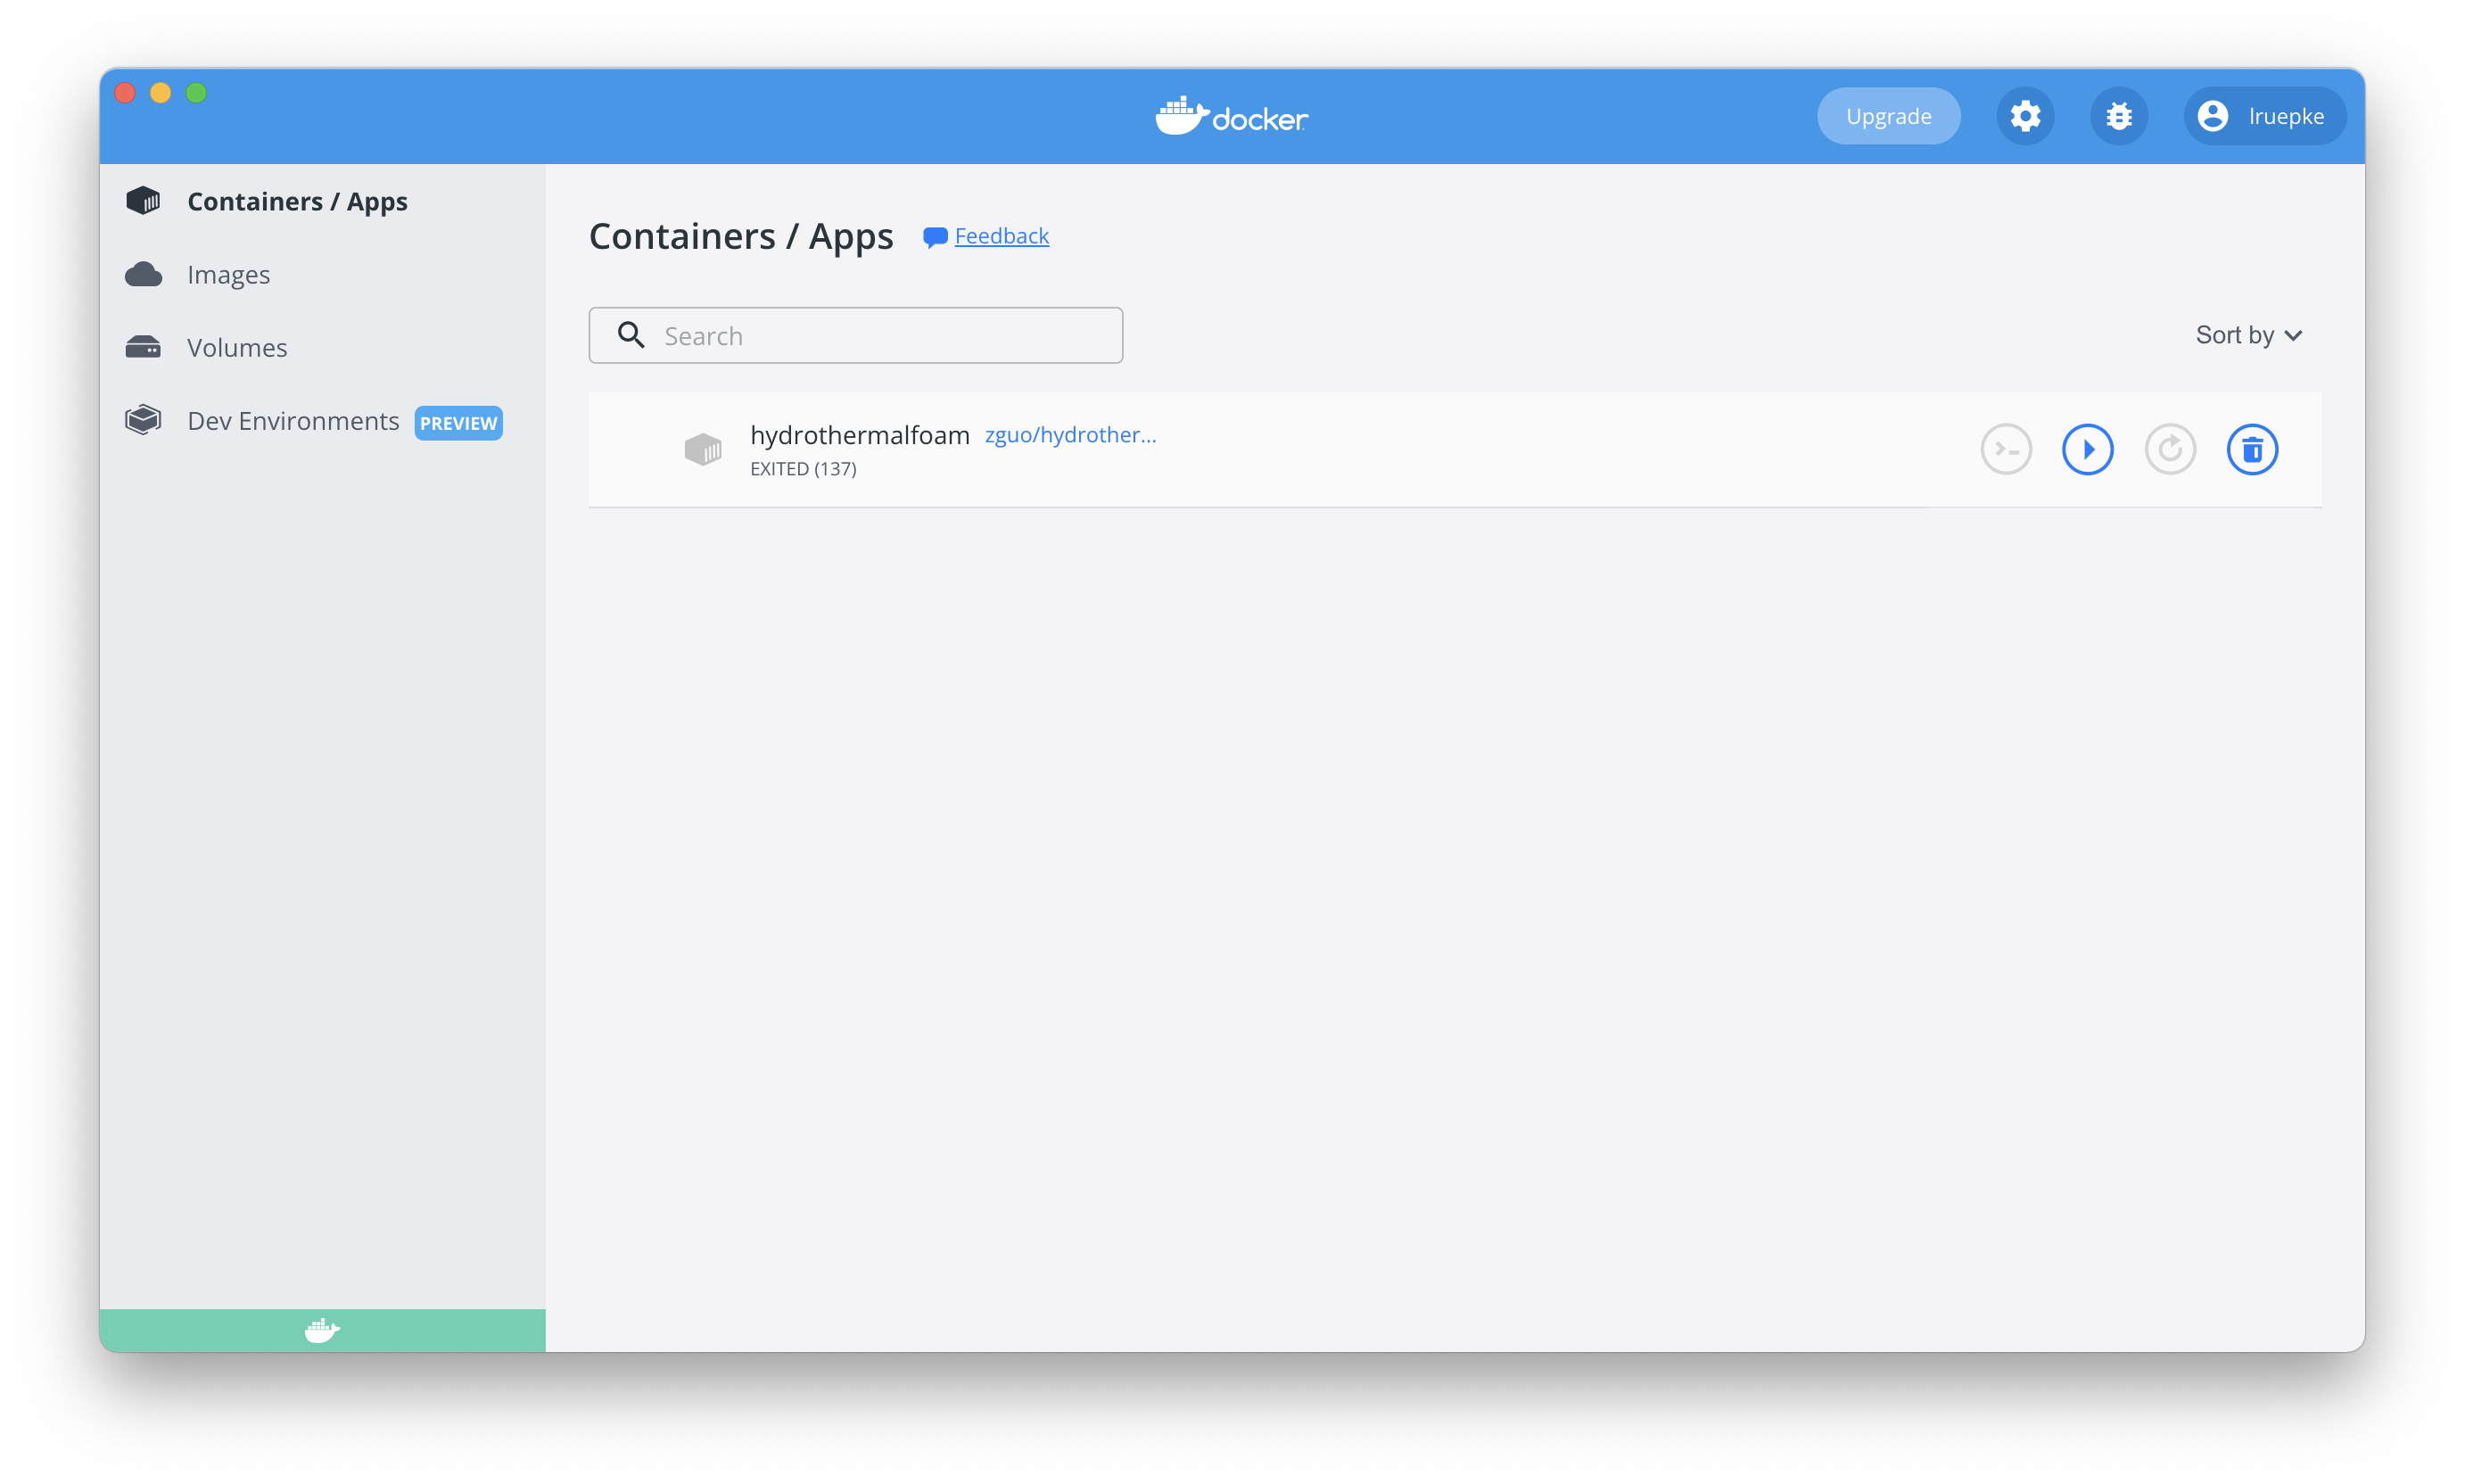
Fig. 1 Docker dashboard showing your images and containers.
Visual Studio Code
Working with OpenFoam involves a lot of editing of text files and you can use your favorite text editor for this. However, we strongly recommend to use Microsoft’s Visual Studio Code.
Open Visual Studio Code and open two shells side-by-side at the bottom (powershell on Windows and terminal on Mac). We will use the convention that we use the terminal to the right-hand side as our “virtual machine (docker) shell” and the terminal to the left as our local shell.
Start and attach the docker container to the right-hand-side shell by typing
docker start hydrothermalfoam10
docker attach hydrothermalfoam10
You can stop the container whenever you want and your files will remain intact, just like in any other virtual machine. To stop the container type
docker stop hydrothermalfoam10
Tip
It really helps to have syntax highlighting when manipulating OpenFoam files. To get it search for openfoam in the Extensions Tab of Visual Studio Code and you will find an extension provided by Zhikui Guo. Install the plug-in and copy the file associations into the settings.json file. To do so, type CMD/CTRL + SHIFT + P and search for “Open Settings (JSON)”.
Paraview
We will use Kiteware’s Paraview to visualize the modeling results. Download and install the latest version. It also really helps to add paraview to the system path, so that it can be called from the command line.
Python
We will use python to analyze some of the numerical results and to dive deeper in to the details of the numerical methods use. If you are already working with python, you will most likely already use some kind of environment managment.We recommend to use Miniconda for the package and environment managment and our installation guide is based on this choice. If you use some other setup, please try to create matching environment
If you want to use miniconda, follow the installation instruction below and create a virtual environment for this course. If you are asked to automatically activate the base environment (add it to the system path), chose “no”. It’s usually a good idea to keep the normal OS python environment intact and only activate a miniconda environment when you need it.
Download and install miniconda
Just follow the installation instructions and keep the default options. During the installation, choose to not add it to your path (that’s the default). Adding miniconda/anaconda to your $PATH may seem convenient but there are several reason to not do it.
Python is used by many different tools on your computer, which probably expect that just calling python will use the Python (and additional packages) installed by the operating system. None of these will be available to Miniconda’s Python.
The conda environment we will create contains several binary dependencies and we do not want to interfere with defaults on your system when, e.g. compiling software unrelated to our lecture.
Create a virtual environment
We will create a so-called virtual environment with all the python packages we will use during this class. To not interfere with your default python installation, we will do this in a virtual environment. To get started open a terminal with activated base miniconda installation.
Starting python
If you are on Windows, start an Anaconda Powershell Prompt from the start menu.
On MacOS / Linux, open a terminal and type
conda activate base
You can also do that in the terminal within Visual Studio Code (on MacOS).
It can sometimes be a bit irritating to understand which environments are used in for example jupyter notebooks. In addition, conda has various so-called channels from which we can install packages. We will use the conda-forge channel. This is the setup we will be using:
the base environment will not be used to do any work.
we will create another environment for the actual work.
An easy way to create the environment is to use an environment.yaml file. This file contains all the necessary information to create the environment. Just copy it into a file and save it as environment.yaml.
name: py312_dome_workshop

channels:
- conda-forge
- nodefaults

dependencies:
- python=3.12
- ipykernel
- matplotlib
- numpy
- pandas
- vtk
- pyevtk
- h5py
- scipy
- ipykernel
- pip

- pip:
    - meshio
    - iapws
    - porespy
Python versions
In Summer 2025, conda already supports python 3.13. However, some packages (porspy) is not working with the newest python and we therefore use python 3.12. Please keep this in mind, if you are working with your own python installation.
Now create the environment by typing
conda env create -f environment.yaml
If everything works, you should see something like this at the end of the output:
#
# To activate this environment, use
#
#     conda activate py312_dome_workshop
#
# To deactivate an active environment, use
#
#     conda deactivate
#
Activate the environment
You can now activate the environment by typing
conda activate py312_dome_workshop
Switching between environments
You can activate and deactivate environments like this:
conda activate py312_dome_workshop
conda deactivate
Integration with Visual Studio Code
You will need to install Microsoft’s Python extension. Just search for Python under Extensions and chose the one from Microsoft (usually the first option). Finally, you will have to set the Python interpreter. Do this by pushing CMD/CTRL+SHIFT+P. Type Python: Select Interpretor and select our newly created anaconda environment. If it doesn’t show up, close and re-open Visual Studio Code.
Test your installation
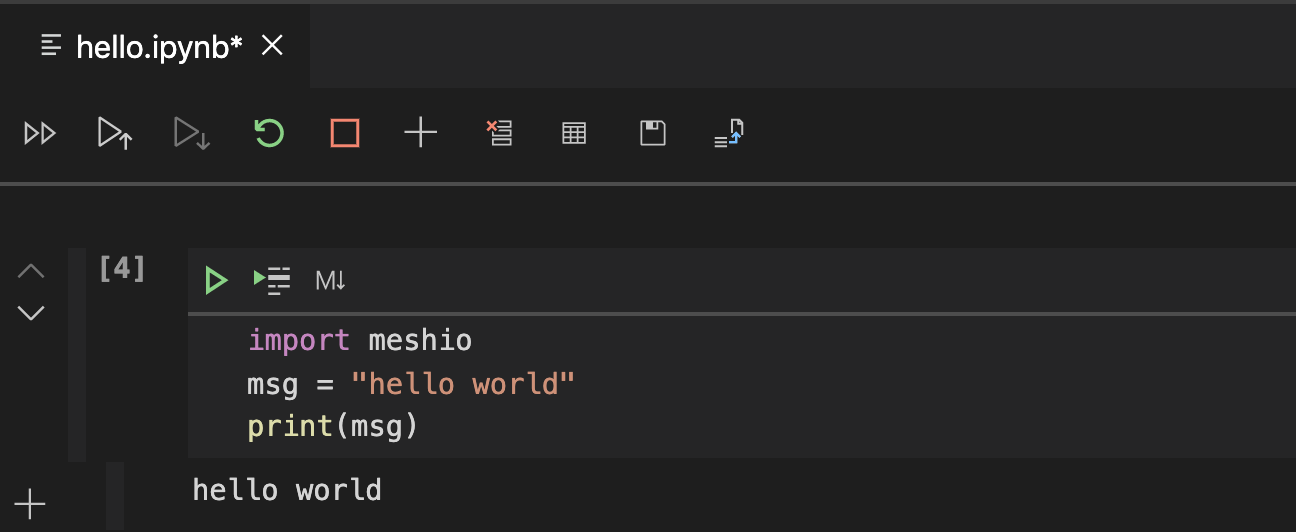
Check that you everything is working by, for example, importing the meshio package and by executing some simple code. Do this in Visual Studio Code and in JupyterLab.
First, let’s check that VS Code finds our new kernel:
start VS Code and get a shell (Terminal->New Terminal)
choose the right python interpreter STRG/CMD+SHIFT+P and chose py3_htf_class
type
code hello.ipynbinto the shellenter the example code from the figure below into the notebook
execute the cell with SHIFT+RETURN